
Umbraco is a great Content Management System that is known as one of the most user-friendly platforms nowadays. Umbraco 8 comes with many localization enhancements that make the translation process more efficient and cost-effective. Also, Umbraco has a strong community that provides technical support and extensions such as Translation Manager for Umbraco 8 that provide more usability to the CMS.
Translation Manager is one of the tools that really understand the localization business requirements and provides a robust solution to run localization projects smoothly and reduce the time and cost of the translation. Before digging into the different features of this localization tool it is important to explain first how to add new languages to the CMS so you can build your localization strategy based on that using Umbraco Translation Manager.
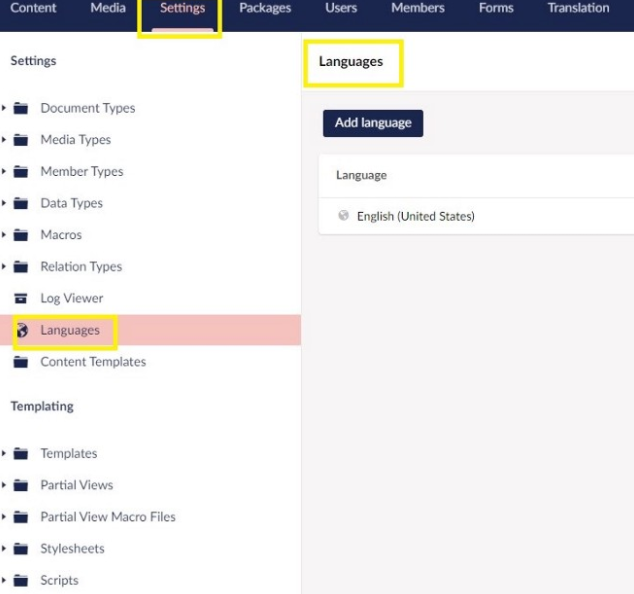
Add New Language
From Settings, select Languages from the left column then click Add Language.
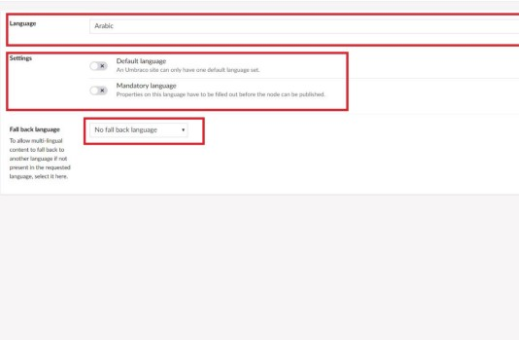
In the next screen, you can do the following:
- 1- Choose the new target language(s) from the drop-down list.
- 2- Make the new language the default one (if needed).
- 3- Make the new language mandatory (if needed).
- 4- Choose the fallback language. (the language that will be used if the target language is missing for a page).
- 5- Click Save.
Once you click Save, you will have the new language added to the list as follows:

Umbraco Translation Manager
This useful package makes it easy to manage all the localization-related processes within the CMS itself without the need to use any external tools to track your translation projects
To install the package, download it or from within the CMS, install it directly. If you are a developer you can install it via NuGet:
PM> Install-Package Jumoo.TranslationManager
Once installed, click Finish.
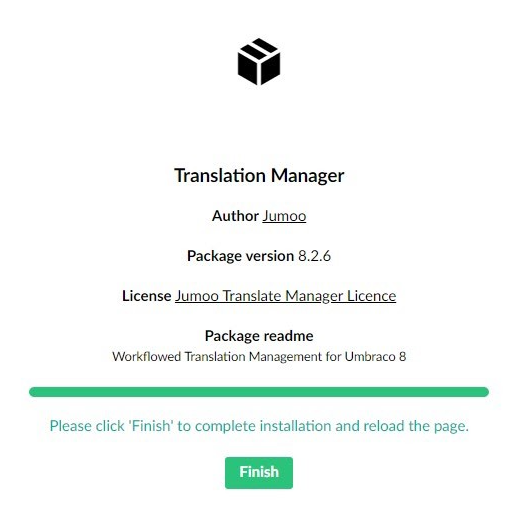
The Translation Manager has 2 licenses: Free (2 languages) and paid (1 license per domain and related subdomains such as ar.website.com, de.website.com, etc…)
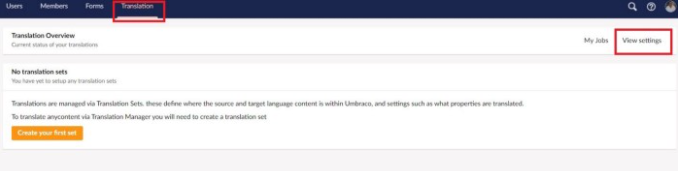
Now from the Top horizontal menu select Translation then View Settings
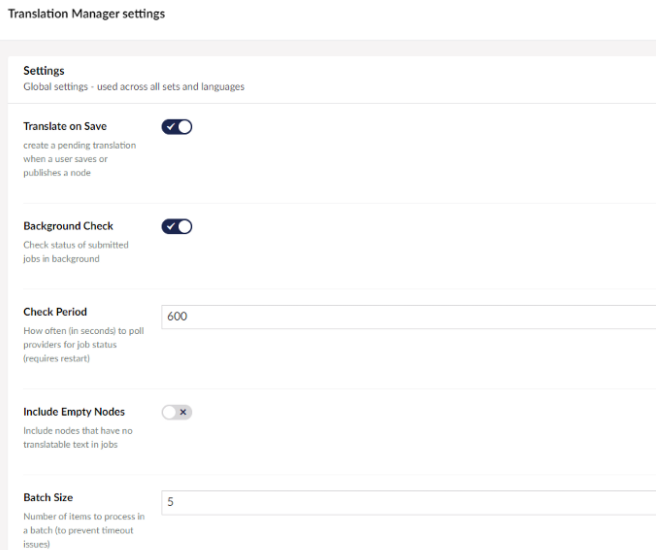
In the next screen, you will be able to manage your global translation settings. Then click Save.
Managing your Translation Packages:
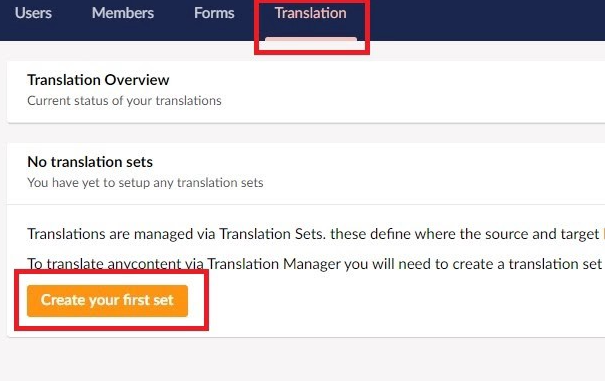
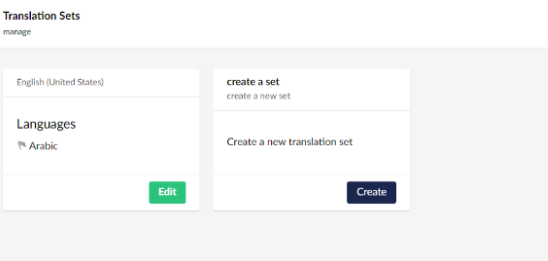
Using the Translation Manager, in order to translate any content you need to create a Translation Set first. From the Horizontal Menu, select Translation. If this is the first time to use the plugin, click Create your first set
Before preparing our Translation Set, let’s first understand the Translation Manager Dashboard:
We have mainly 4 sections:
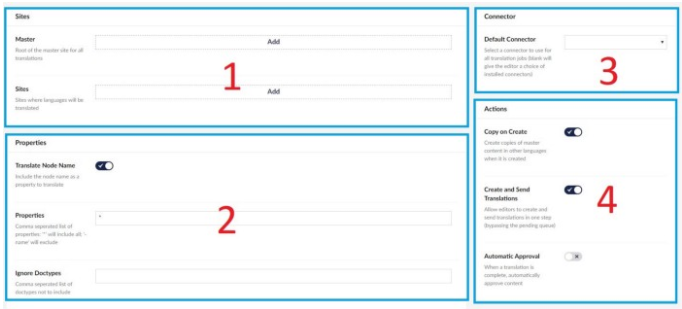
1- Site:
Identify the Master site (Source) and the sites where the content will be translated.
2- Properties:
Choose to translate the Node name or not. Excluded / Include properties: Please note that using (*) means that all properties will be included.
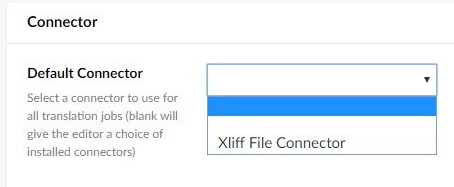
3- Connector:
Select the Localization Service that you are going to use for Translation. The default / built-in one is XLIFF File Connector
4- Actions: Enable / Disable the following default actions:
- A- Copy or Create: Auto-create a copy of the content from Master to the sites in other languages.
- B- Create and Send Translation: Editors can create than send content for translation directly.
- C- Automatic Approval: Content is approved automatically after check-in.
Now, in Section 1 (Sites), when you click Add, a new popup on the right side will appear and you need to select the Master node and the language assigned to it.
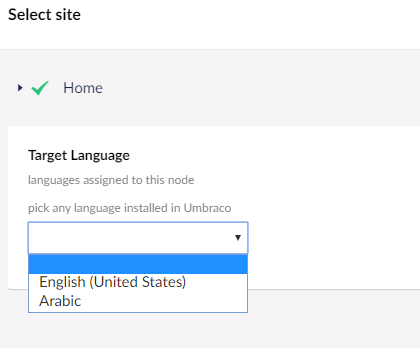
Then repeat the same for the Sites. Once both are done the First section will look like this:
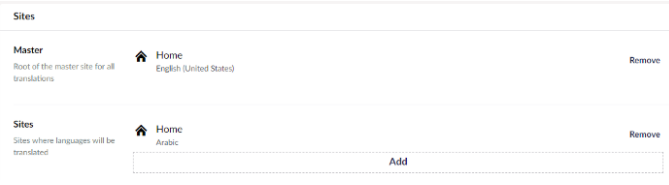
Click Save. Now you have your first Translation Set ready

Now Click Settings and you will see in the left column near the bottom, a Node in bold “Translation”. Under this node, there are two items: Sets and Connectors.
Obviously, The Set item deals with creating or reloading Translation Sets
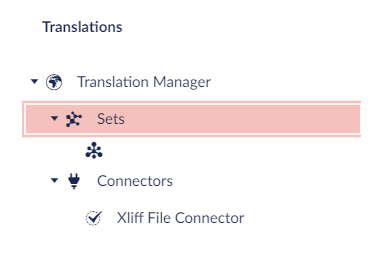
XLIFF File Connector
This is a great feature that solves a lot of challenges I faced during managing localization projects for Umbraco. First of all, it uses the Standard format that all translation CAT tools can deal with which is XLIFF (XML Localization Interchange File Format). Furthermore, the XLIFF structure is well checked and doesn’t violate any of the file format standards which may affect how the file is preceded by CAT tools which lead to issues such as(Encoding problems, Adding more irrelevant words that will by mistake increase the total words count and prices. The well-structured XLIFF will dramatically reduce the preliminary and final engineering process.
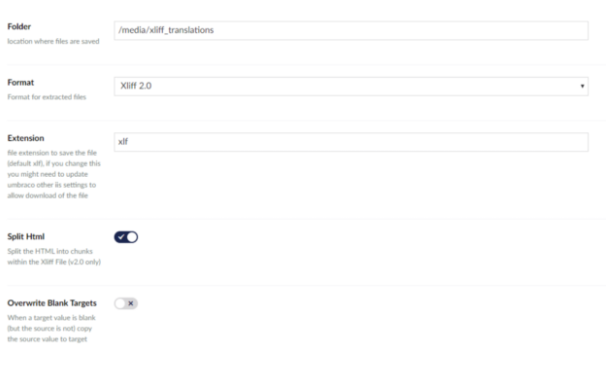
Folder: This feature lets you specify the path where the extracted XLIFF files will be saved based on your security team’s recommendations. From there you can safely use an automated process to send the files to your translators without violating any of your security rules such as open certain ports to allow the connection with a third-party connector. This can be a good solution especially for websites with high-security measures.
Format: A second great feature as you have the variety to select between different versions of XLIFF to be compatible with the Translation CAT tools you are dealing with without additional steps which will save time and cost.
Extension: same as above, some cat tools use XLIff extensions as XLF, XLIFF, or even XML which is wrong but practically exists.
Split HTML into Chunk (XLIFF 2): a very smart solution to reduce the complexity of a project and speed-up the project delivery time and many other advantages.
Overwrite Blank Targets: This is also very useful. We are always using external scripts to do this. Now it is a built-in feature that will help also saving engineering time and cost.
Working with Languages using the Translation Manager
Now all the settings are in place. From the Content section, you can simply select a page, and from the top horizontal menu click Translations.
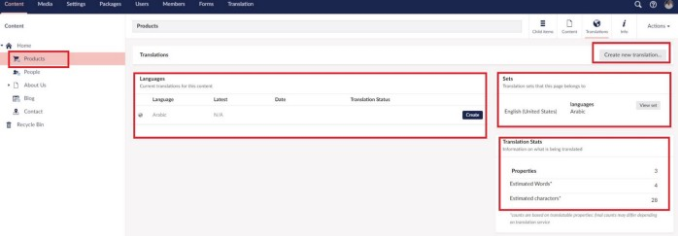
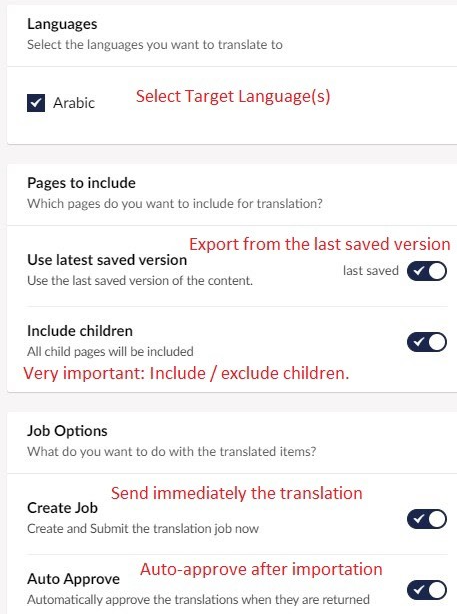
As you can see in the above screen, you will have access to useful information such as the current Translation Set, Statistics about the total words/characters count based on the content saved in the translatable properties, target language(s). Also, you can click Create Translation to get access to more options to accurately create the new version in the target language such as:
To conclude, the Translation Manager for Umbraco seems to be a strong connector that will enhance at a very low cost the localization capabilities of Umbraco. Also, a lot of additional features can be added to it, to be a complete suite with Machine Translation capabilities, connections with Translation Memories, reporting, etc… But for now, the current functionality seems to be smart and stable to handle Umbraco content localization.
Feel free to leave a comment or to Contact Me for an open discussion!